Intolerances: Fructose, Gluten, Dairy, Soy
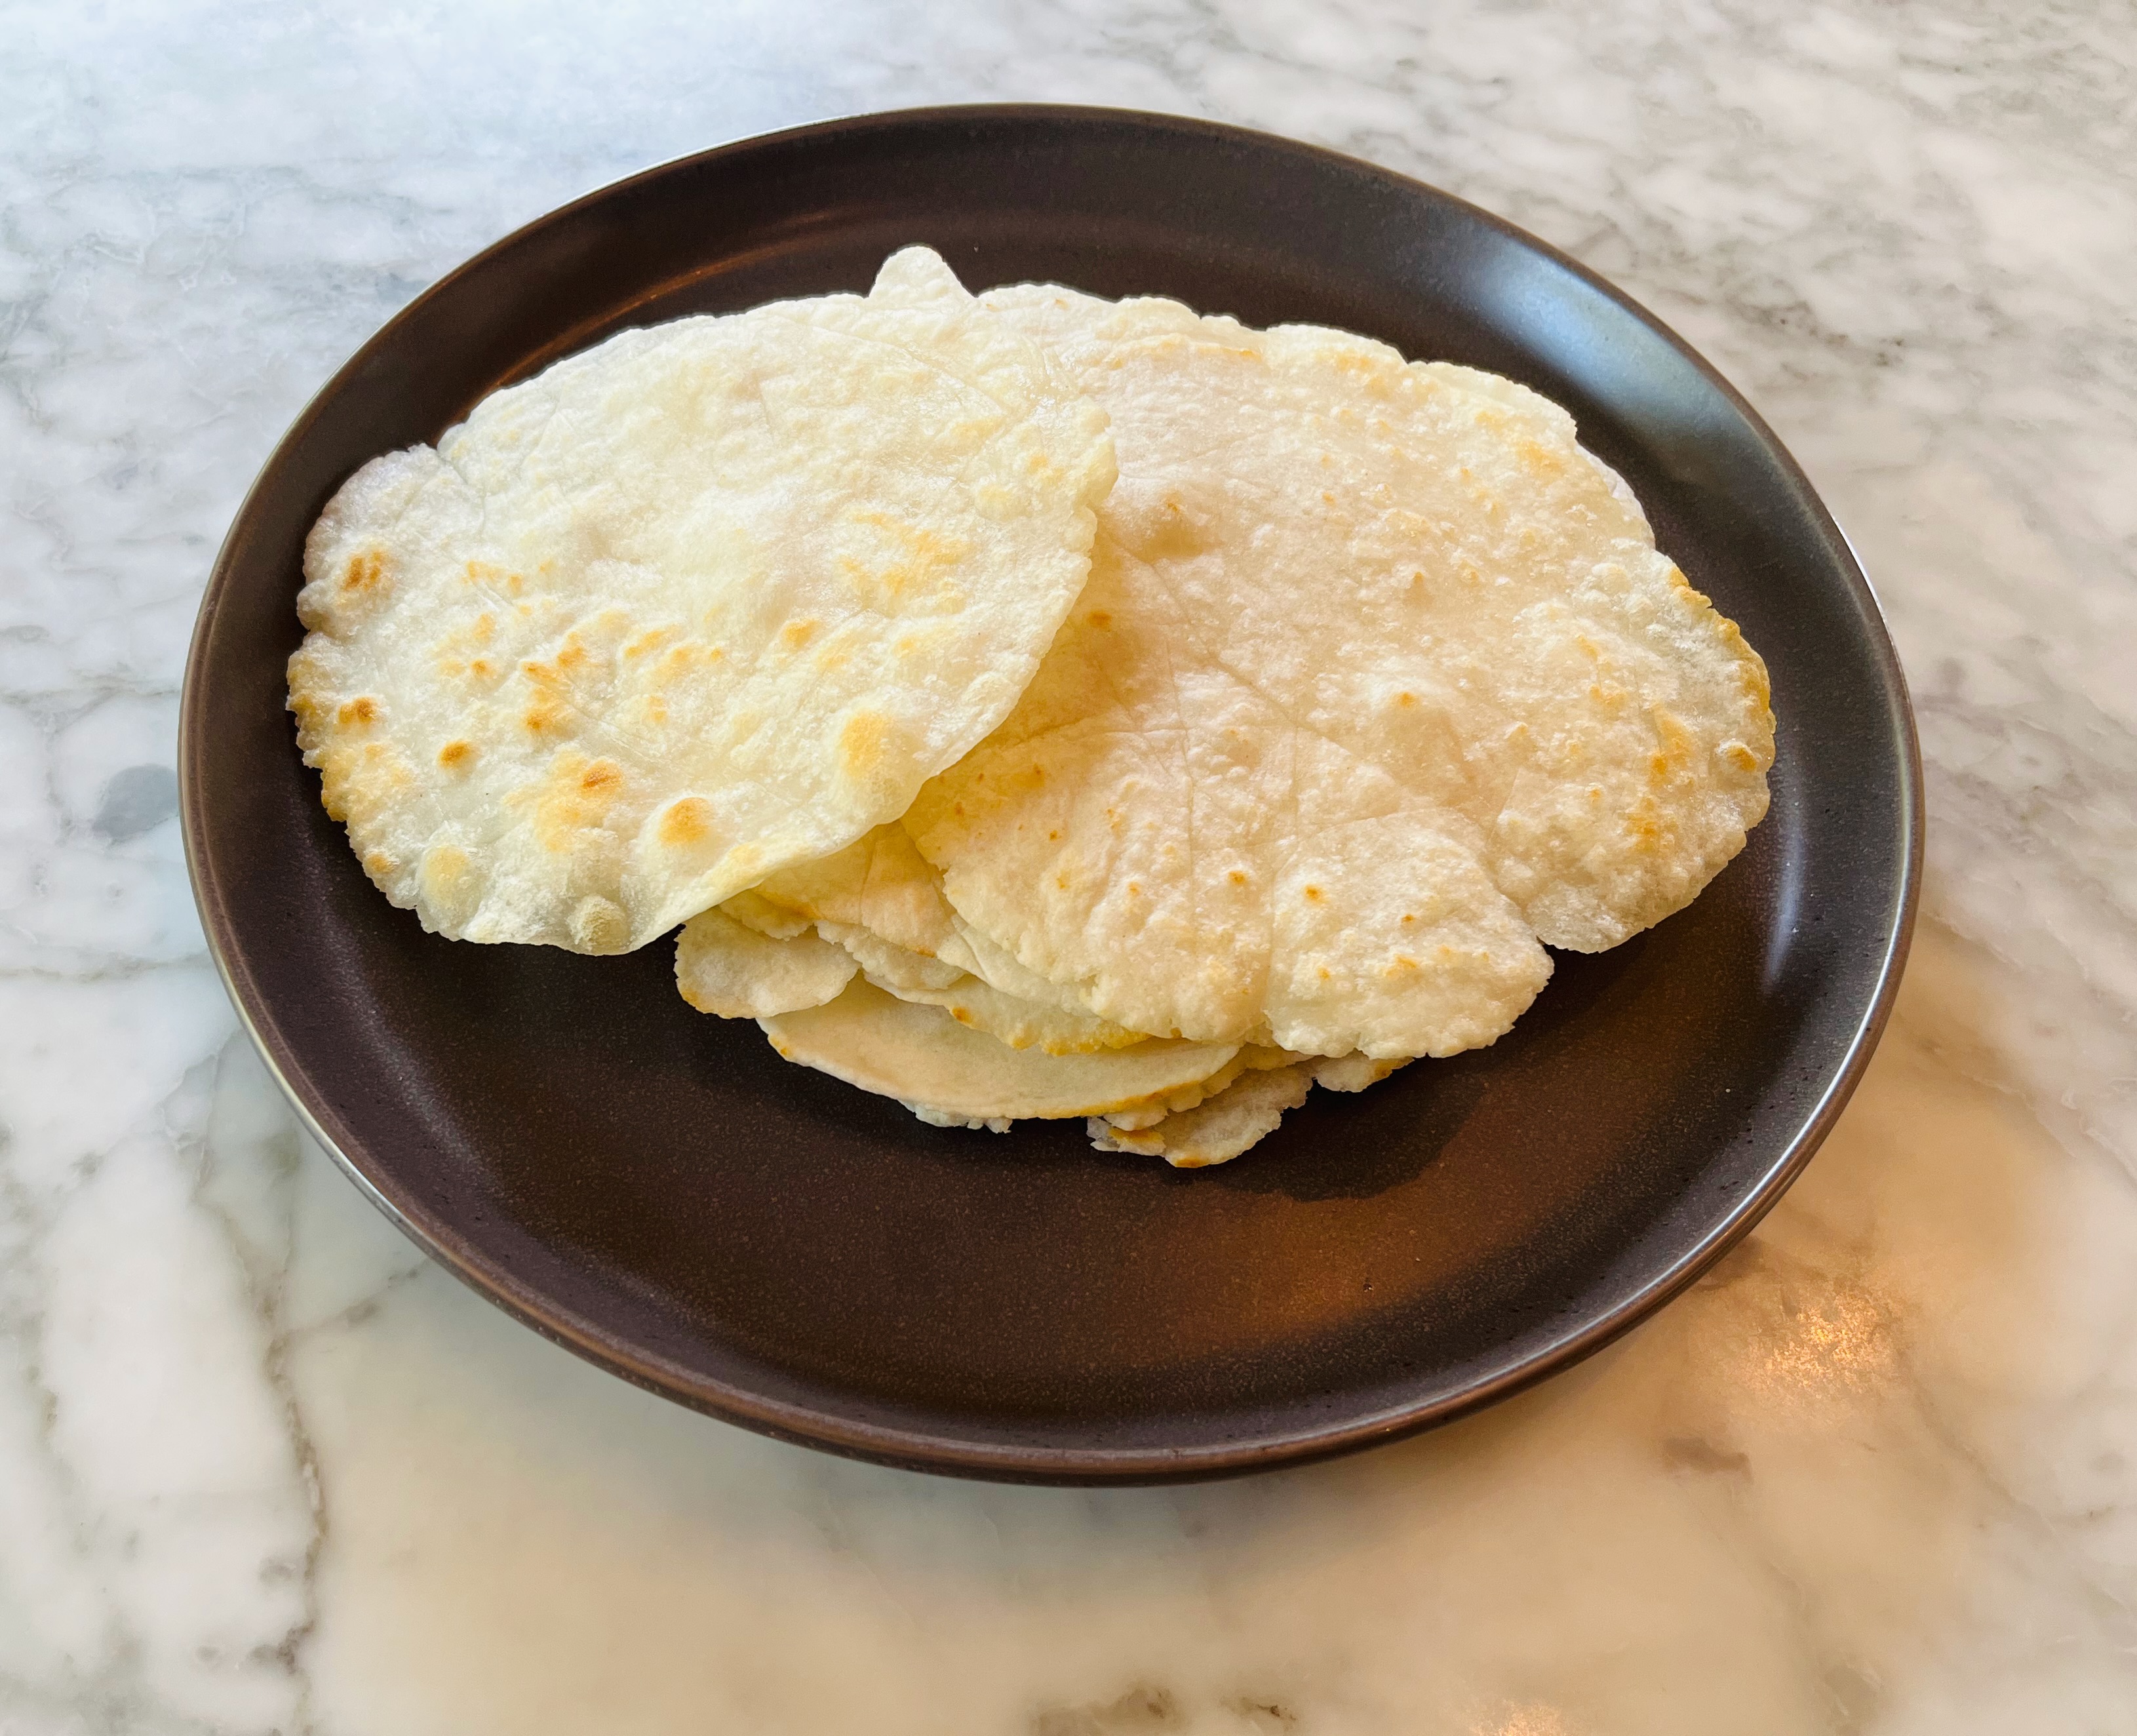
Light with the right amount of chew. The perfect vessel for your Mexican meal.

Everyone loves tacos, right? Now, imagine a world where you didn’t have a tortilla for that taco. It doesn’t seem like a world that I want to live in, but it was. I have never discriminated against a taco shell, hard, soft, corn, flour, all of them delicious. When I went gluten free, I switched to 100% corn tortillas, which honestly wasn’t a problem. When I went fructose “free”, I was having a hard time finding a packaged tortilla that I could eat. I was out of options. After eating a ton of taco salads and bowls, I decided that they just weren’t cutting it, it was time to make my own tortillas.
Serve it with:
- Quesadillas
- Tacos
- Sandwich Wrap
What you need:
- Parchment Paper
- Rolling Pin
- Bowl and Wooden Spoon
- Frying Pan
- All Purpose Flour (I use Better Batter)
- Baking Powder
- Salt
- Vegetable Oil

The Tortillas
Making tortillas feels like it should be difficult and time consuming, but in reality, it really isn’t. In a bowl, add your flour, baking powder and salt. In a separate bowl or glass measuring cup, add warm water and (warm it up 45 seconds in the microwave if needed). Once the water is warm, add it to the bowl with the other ingredients. Using a wooden spoon, mix all ingredients together, as the ingredients begin to come together, switch to your hands and knead for at least 2-3 minutes and form into a ball. Place a towel over the bowl and let sit.


Place a piece of parchment paper down on your counter. Take a small piece of the dough out, replace the towel and roll the dough into a golf ball size ball. Place the ball on the parchment paper and add another piece of parchment on top. Roll out the dough until it is paper thin, probably about 6-8” diameter. Making burritos? You can certainly create a larger tortilla.


Add your oil to lightly cover the bottom of your pan (I prefer a cast iron) and turn the heat to medium. Once hot, add your tortilla. After about 60-90 seconds, flip the tortilla and fry for an additional 60-90 seconds. You will see the tortilla bubble slightly and you definitely want some brown/black spots. Once it’s done, place on a plate to serve. Rinse and repeat with the remaining dough.


Store the tortillas in an airtight container in the fridge for up to a week or in the freezer for 2-3 months. When serving, make sure to heat them through to make them pliable (either in the microwave or wrap in foil and warm in an oven).
Gluten Free Flour Tortillas
Intolerances: Fructose, Gluten, Dairy, Soy
Yields: 12-16 tortilla Shells
Prep: 10 minutes Total Time: 30 minutes
1 ½ cup gluten free flour (fructose intolerant, use Better Batter)
1 ¼ tsp baking powder
½ tsp salt
2 Tbsp canola oil + extra for the pan
¾ – 1 cup warm water
- In a bowl, mix flour, baking powder, salt and oil.
- Warm a cup of water (not boiling) and add about ¾ cup. Mix with a wooden spoon and then switch to your hands to begin kneading and forming into a ball. Slowly add additional water if the mixture is too dry. Let sit covered with a towel for 10 minutes.
- Place 2 pieces of parchment paper on the counter (about 10×10). You will need to take some of the dough (replace the towel on the bowl) and roll the dough into a ball (approx. size of a golf ball). Place it in the center of the parchment paper and add the other piece on top. Roll out the dough so it is paper thin.
- Heat your cast iron pan with a teaspoon of oil. Once hot, add the tortilla. Fry for 1-2 minutes and then flip, fry for an additional 1-2 minutes.
- Repeat with the remaining dough. To “speed up the process”, I typically prep a tortilla while one is frying.
Store the tortillas in an airtight container in the fridge for up to a week or in the freezer for 2-3 months. When serving, make sure to heat them through to make them pliable (either in the microwave or wrap in foil and warm in an oven).